Stamp Application
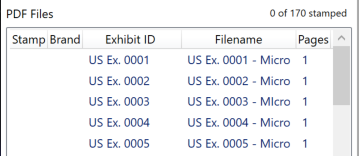
Before you begin stamping the documents in your collection, make sure that the Exhibit ID reflects exactly what you want to appear on the stamp. If you need to make edits to this field, see ID Editing for detailed instructions.
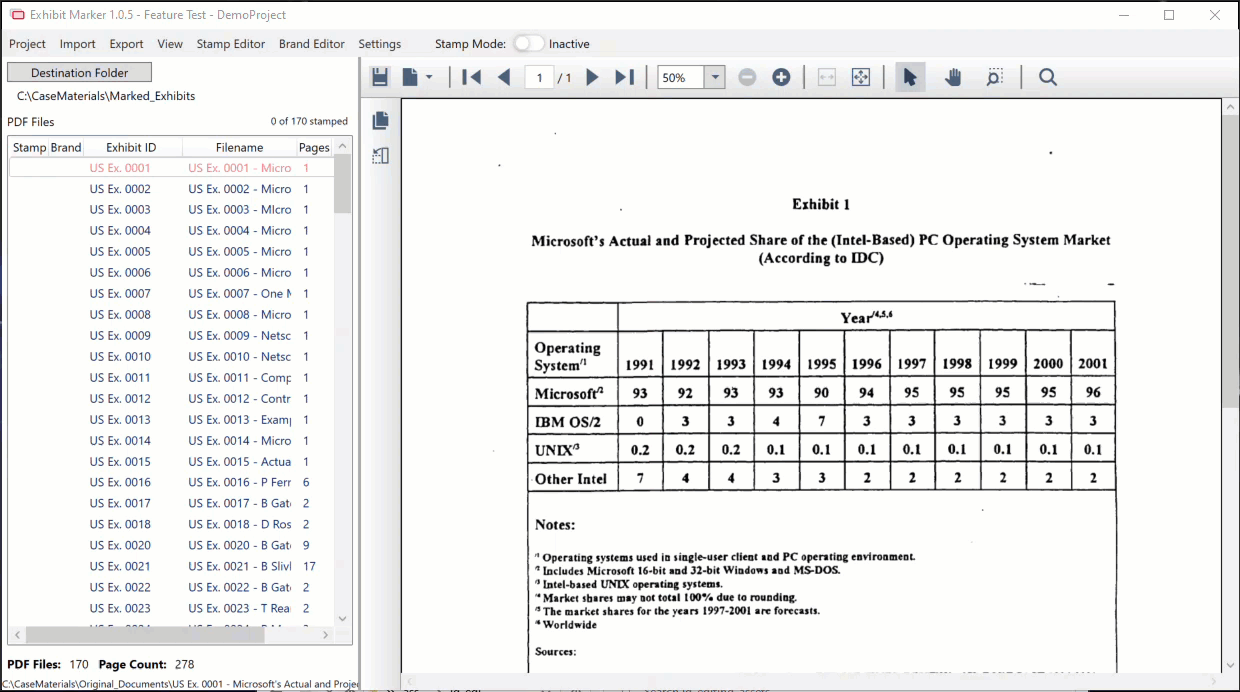
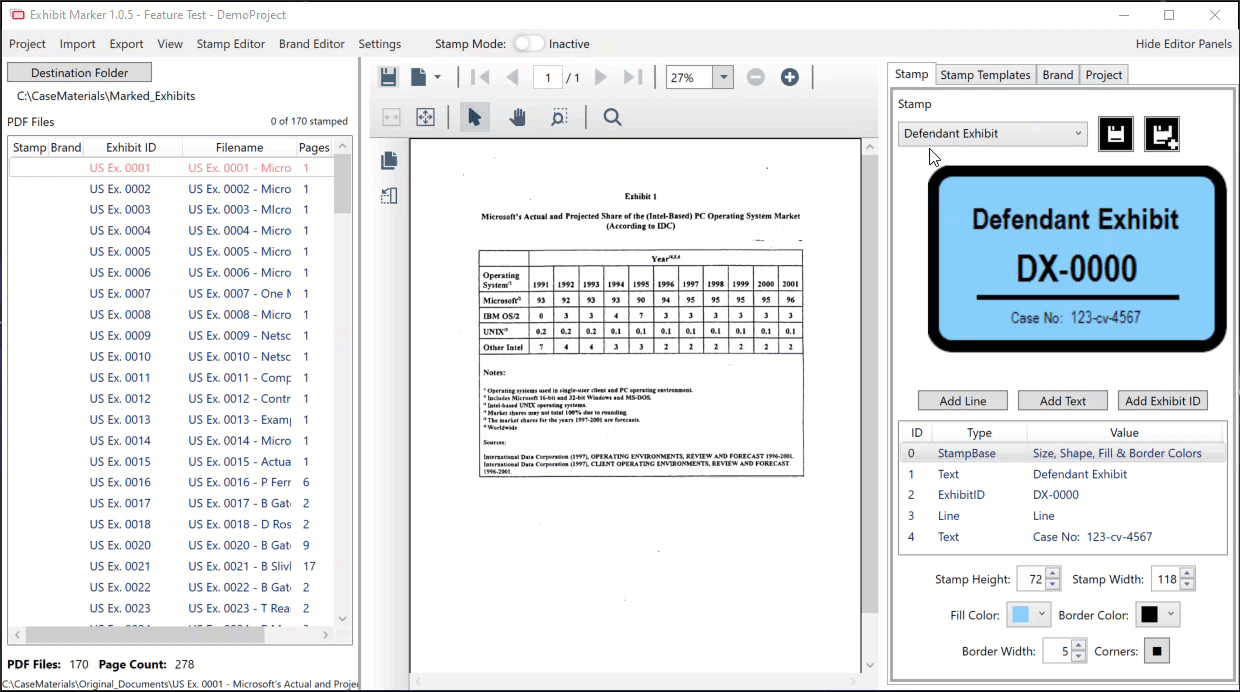
Select Stamp to Use
If the Stamp tab is not visible, click Stamp Editor on the menu bar, or select View > Stamp Editor. Using the drop-down box on the Stamp panel, select the stamp you wish to use.
At this point, you can hide the Editor Panels. You may also wish to change the document view to Full Page, so that you have a less cluttered workspace while applying the stamps to the exhibits.
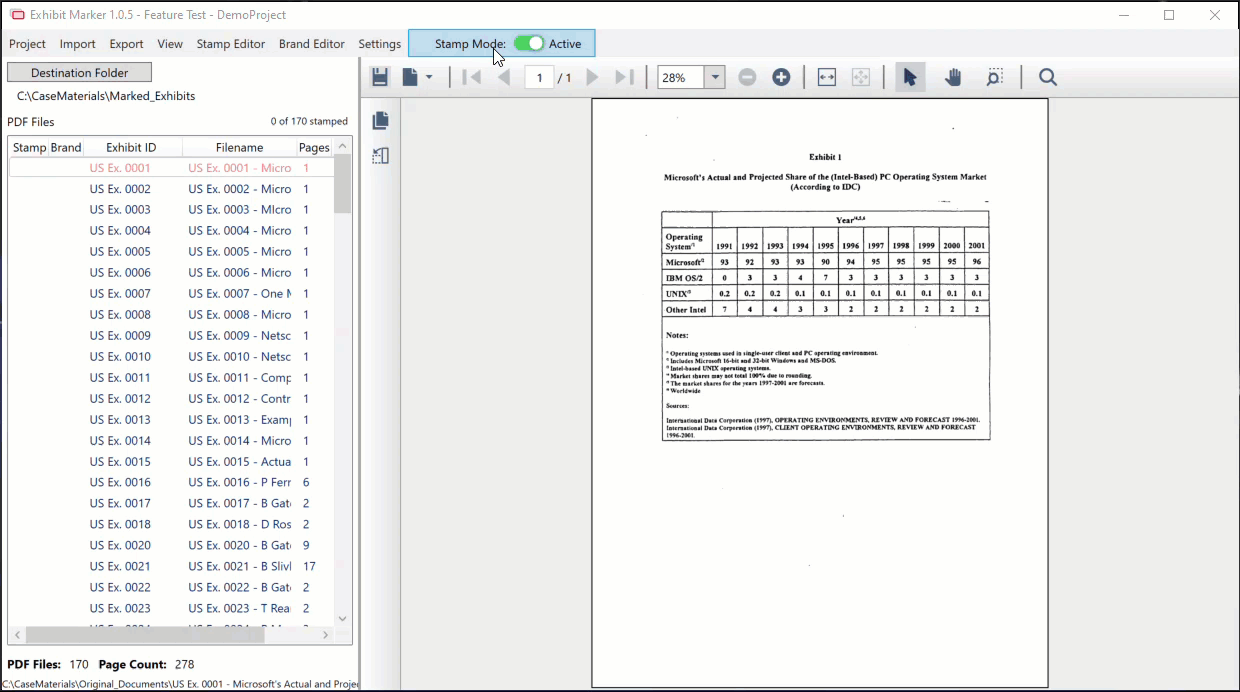
Enter Stamp Mode
In order to begin stamping, you must switch on Stamp Mode via the toggle at the top of the window. The toggle background will change to green, and the text will indicate that Stamp Mode is now Active.

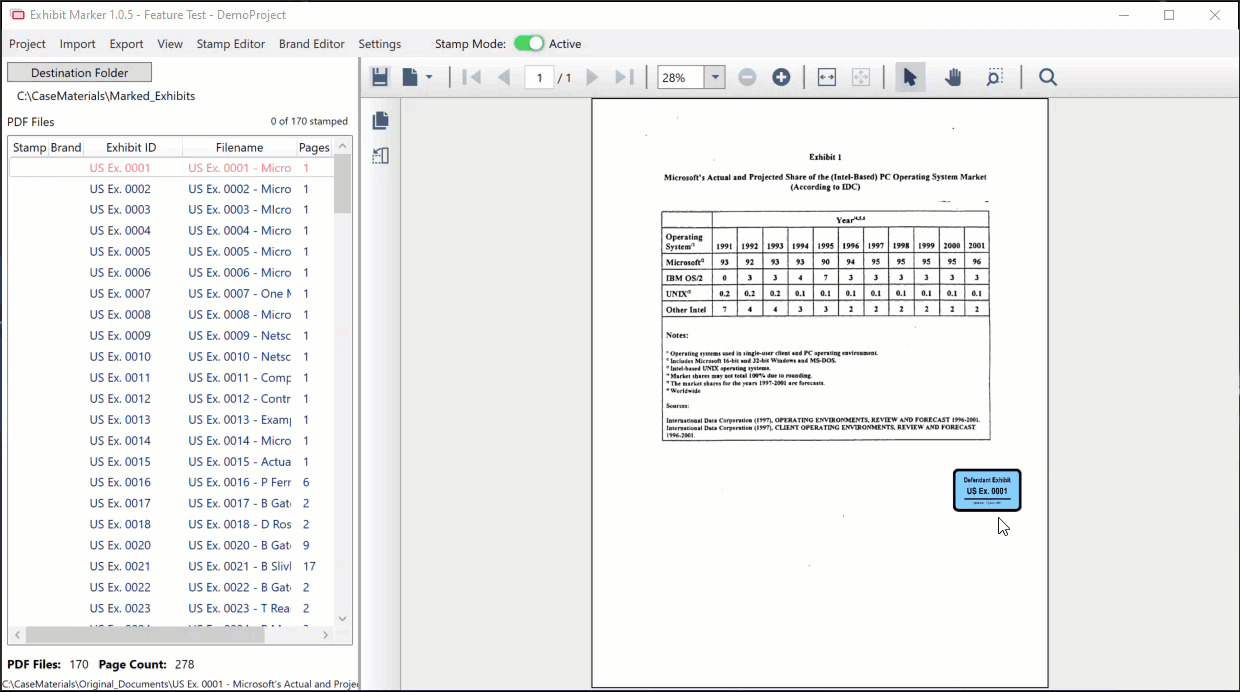
Applying a Stamp
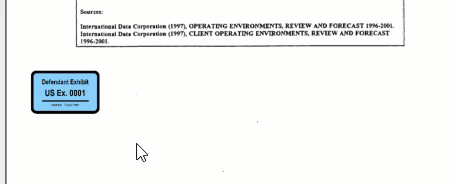
While in Stamp Mode, whenever you move the mouse over the document, a semi-transparent version of the stamp to be applied will replace the pointer. This allows you to ensure that the stamp is not placed on top of existing text or graphics. When the stamp is in the desired location, click the left mouse button to place the stamp. It will then become opaque, and the mouse pointer will return to an arrow.
Reposition a Stamp
If you place the stamp in the incorrect position, you can simply click and drag it to a new location. Once in the new position, click outside of the stamp boarder and it will affix at the new position.
Resize a Stamp
In cases where the document is oversized, or undersized, the stamp may be apper out of proportion, too large or too small. In other instances, the amount of white space available for stamp placement may be minimal. Simply select the stamp again and grab one of the corner handles with the mouse by holding down the left mouse button. You can now resize the stamp by dragging the mouse pointer.
Delete and Reapply a Stamp
The stamp may be deleted at this point by selecting it and hitting the delete key. To get a new stamp to place on the document, simply hold down the Control key and press R. This will reload the currently selected document and give you a new semi-transparent stamp to place on the document.
Saving a Stamped Document
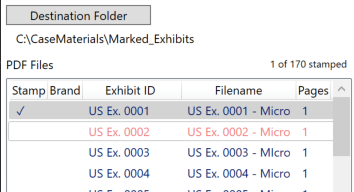
Once you have the stamp that you want, in the place that you want, you can advance to the next document. While this can be done by clicking the next item in the PDF Files list, it is much easier in Stamp Mode to press the space bar. This will save the currently loaded PDF to your Destination Folder.
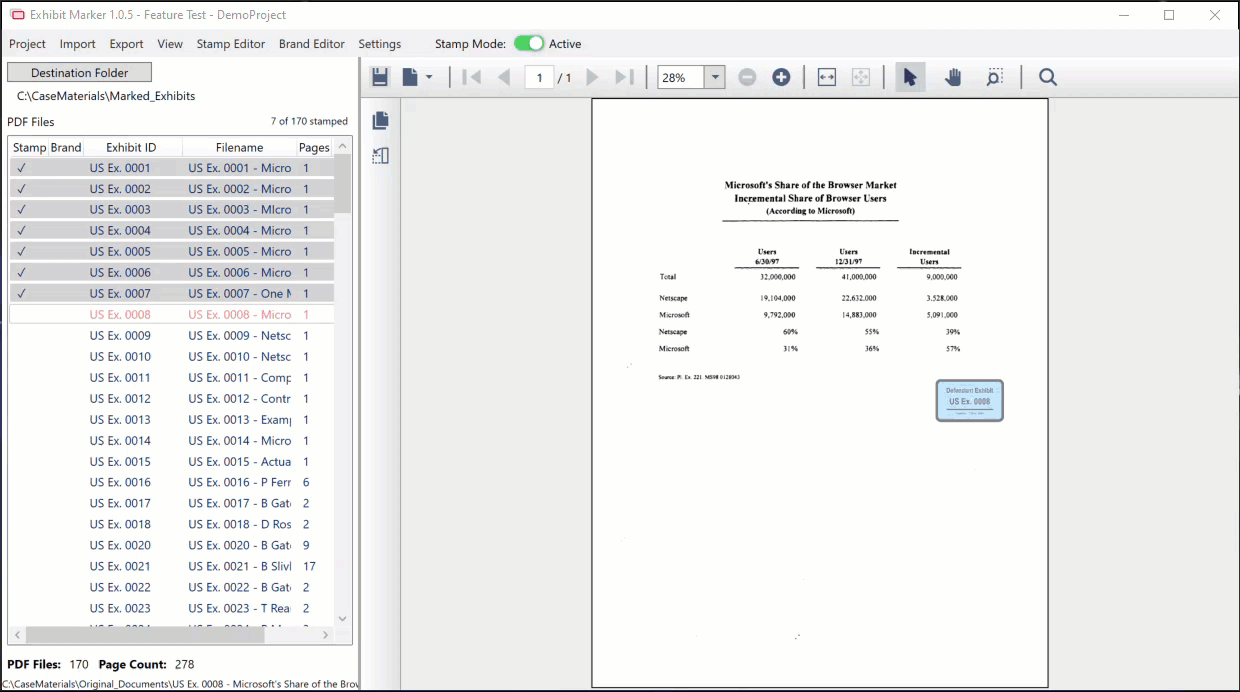
Additionally, you will notice that a checkmark is placed in the Stamp column of the PDF Files list, and the highlight for that document now appears in light grey.
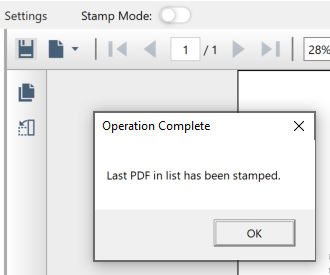
When you reach the end of the PDF File list ExhibitMarker™ will alert you that the last document has been stamped and automatically exit Stamp Mode.
Notes
Should you wish to remove a stamp that was placed on a document that has been saved, you will need to use the right-click menu and select Revert to Original in order to get a clean version of the document and begin. Please note that if you have already Branded the PDF, this will need to be done again as well.
You may close the program at any time during this process and all of your progress will be saved to the project database.