Selecting a Template
Rather than building a Stamp from scratch, ExhibitMarker™ provides you with a variety of stamp templates that can be applied to your documents, or used as a starting point for design modification.
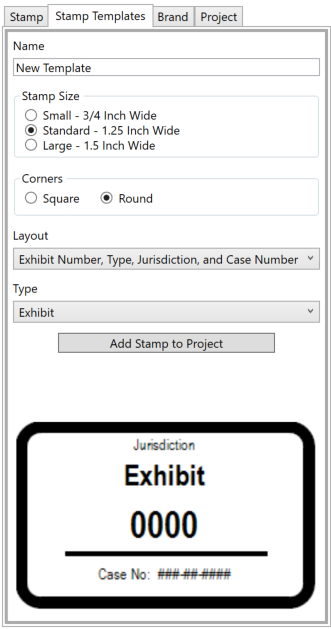
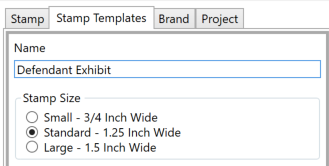
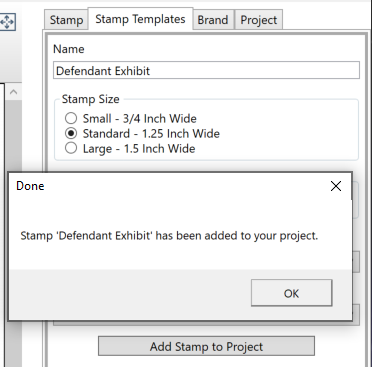
It is good practice to name the stamp with something descriptive, in this instance we are making a Defendant Exhibit stamp.
By default, the Standard 1.25 inch stamp size is selected. You may choose to start with a smaller or larger template. This does not limit you to just this single size. During the Stamp Application process, you can manually change the size of any stamp as needed. See Changing Stamp Size for more details.
Th next option sets the corner style of the stamp as square or rounded.
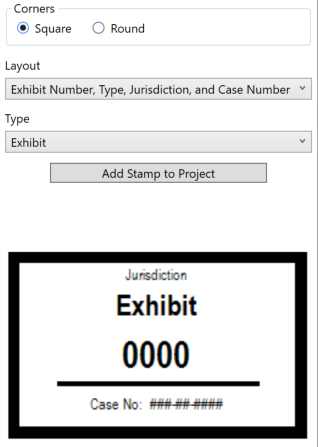
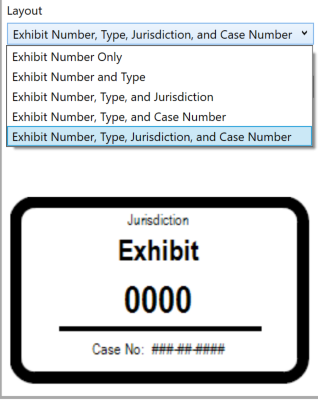
Once you have selected the basic size and shape of the stamp, the contents of the stamp, or Stamp Elements, can be chosen from the Layout drop-down box.
The next option sets the exhibit Type. ExhibitMarker™ has a large selection of options available. However, if you do not see the specific type that you need for your exhibits, select any of the options and you may edit the stamp design later.
Now that you have selected a Stamp Template, click the Add Stamp to Project button and it will be saved to your project database with the name that you entered at the beginning.
From here, all the elements of the Stamp (size, colors, text content) can be edited to suit your needs. For more details, please see Edit Stamp Design.