Edit a Stamp Design
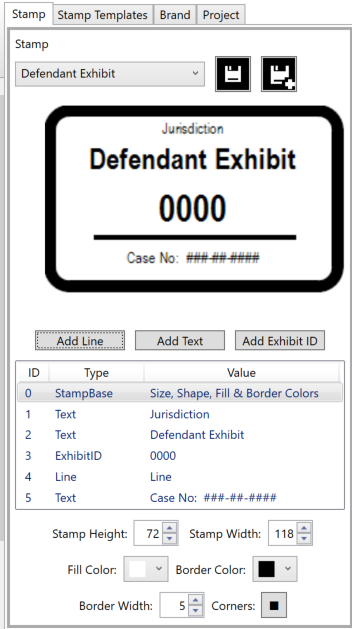
The default stamp design contains multiple elements, all of which are customizable. The color, size, position, and content can be modified with with a few simple mouse clicks.
The StampBase element is selected by default, and this allows you to change the fill and border color of the stamp, the shape of the stamp corners (square or rounded), the border thickness, and the overall size.
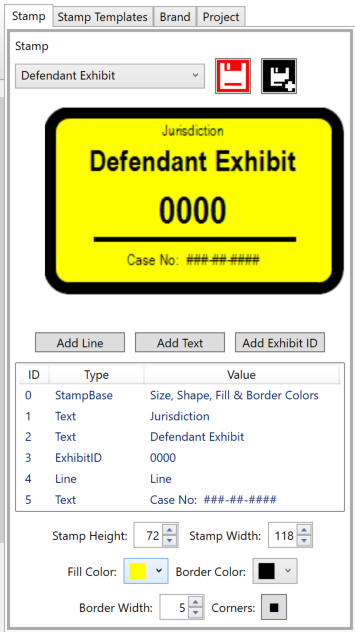
Below, we have changed the fill color of the stamp from white to yellow. An immediate change in the UI that should be noticable is that the Save icon has changed to red. This is to alert you that the design of the stamp has changed and should be saved before moving to other tasks.
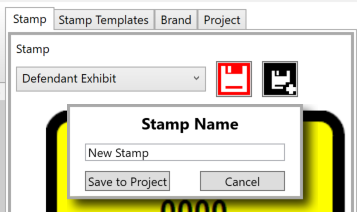
If you want to save the stamp with a different name, click the Save As button to the right of the Save button. This will bring up a dialog box allowing you to enter a name for the new stamp.
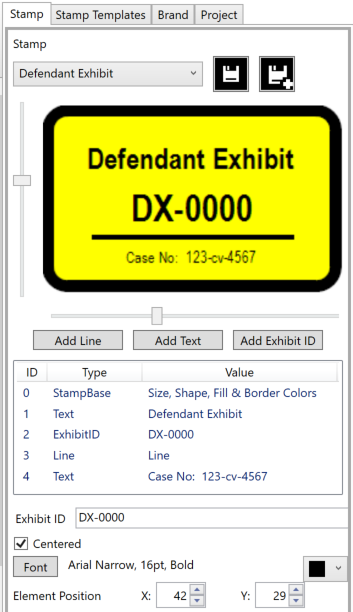
After saving the stamp with a new name, Defendant Exhibit in this case, we move on to the border settings. Below you can see the realtime changes to the border thickness and corner shape with the controls below.
The StampBase element is the only compound element in the stamp. That is, its contents impact multiple aspects of the stamp. All of the other elements, Text elements, ExhibitID, and Lines, are edited individually.
When you have selected an individual element, the controls to modify its appearance change according to the type. Additionally, slider bars appear to the left and bottom of the preview stamp. You can modify each element’s position by moving the horizontal or vertical sliders, as seen below.
By default, ExhibitMarker™ centers all elements. Modifying the horizontal position will not change via the slider bars unless you first uncheck the Centered option. Turning the option back on after you have moved an element will automatically recenter the element.
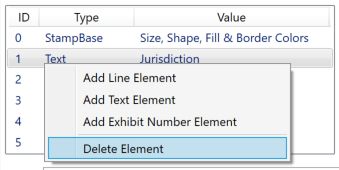
If you decide that an element is no longer needed, simply right-click on the element and select the Delete Element option.
You may also add new elements this way, in addition to the Add Line, Text, and Exhibit ID buttons above the Stamp Element list window.
You can change the Text elements by selecting the element and editing the content of the Text box. You can also modify the Font, Weight, Size and Color via the provided controls.
The ExhibitID element is a placeholder. ExhibitMarker™ dynamically updates its content each time a new document is selected for stamping with the Exhibit ID of the document. We suggest that you enter a value that represents the longest ID in your document population, then modify the Font Size of the element to achieve the desired look of the stamp.
The Line element can be repositioned in the same manner as the Text and ExhibitID elements. When you select a Line element, new controls for modifying the Length and Thickness of the line are loaded.
Be sure to click the Save or Save As button when you have completed the design.